The New Dura-Film Stencil Uses A Combination Of Processes That Combine Silk Screen And Printed Circuit Board Technology Into A New Hybrid Type Stencil Which Is Flexible, Durable and Easy To Use. Basically, as Shown Below, Dura-Film Stencils Use A Polyester Mesh Base That Is Covered On BOTH SIDES And Completely Through The Stencil With A Photosensitive Polymer Which Is Tough But Easily Exposed And Developed Using Ultra-Violet Light. This Allows You To Make The Most Complicated Artwork And Not Have The Internal Parts Connected To The Outside In Order To Stay In Place. The Mesh Base Always Holds Every Part Of the Artwork In Its Proper Place Time After Time.
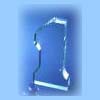
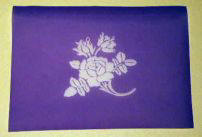
Here is a very simple stencil with concentric circles to show that the center circles always stay in place.
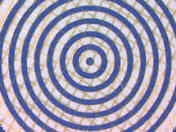
Here is a close-up of our proprietary stencil material showing the mesh base which holds everything in place
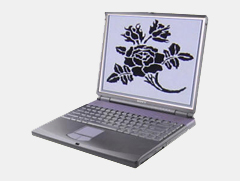
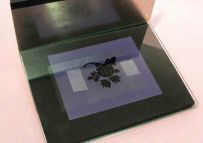
1. Make Your Copy, Designs or Artwork on your Computer and Print onto a Transparency Film. You Can Make Any Type of Line Artwork. Print the Artwork Out on A Transparency Film Which Is Enclosed In Your Kit Or You Can Buy Extra Sheets At Any Stationery Store. Here Is a Picture Of The Copy Actually On The Computer and The Artwork Shown Being Held Below.
2. Now Put The Artwork Copy on an Unexposed Stencil And Insert In Whichever Type Of Ultra-Violet Exposure Unit You Have. (Note: We Have 3 Kits Available; the Mark 440, Mark 560, and Mark 1000 Glass Etching Kits.) Expose For 3 to 4 Minutes Depending On The Size Of The Stencil You Are Using (Which Varies From 4"x 4" To 5"x 6" To 10"x 12").
3. Remove the Clear Plastic Sheets from the Front and Back of the Stencil, Then Place It In The Developer For Approximately 40 to 50 SecondsAnd Developed With A Soft Sponge (Which Is Provided In Each Kit). After Complete Development You Simply Check The Stencil Over By Holding It Up To The Light To Be Sure That The Complete Artwork Has Been Totally Developed and Washed Out.
4. Once Your Glass Etching Stencil Is Completely Developed Then You Should Dry It Off By Blotting With A Paper Towel And Then Using A Regular Hair Dryer To Finish The Drying Job. At This Point Your Stencil Is Ready For You To Etch Your Copy On Any Glass, Marble, Mirror or Other Surface.