Instructions For Glass Etching With The
New Dura-Film Stencils:
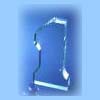
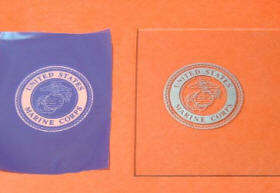
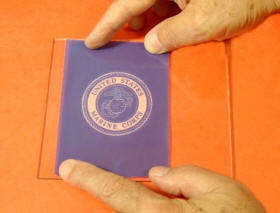
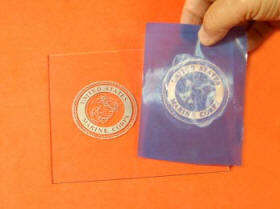
1. Prepare the Stencil.
Here we have a newly completed Dura-Film Stencil that is ready for etching glass. Look it over to be sure it is completely developed. We are using a stencil featuring concentric circles to show that the center of the circle does not fall out when used.
Note: Stencil can be used dozens of times.
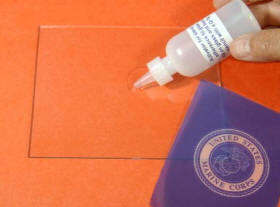
2. Apply Activator to the Glass.
Next apply enough activator (included with purchase of any kit) to saturate the stencil immediately around the imprinted design. This will adhere the stencil to the glass, ensuring that it doesn't slide or move around while you are etching it. You don't need to over-do it here, a little bit goes a long way.
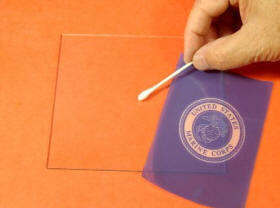
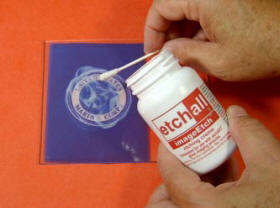
3. Spread Activator Around.
After you apply the activator you may spread it around a bit with a Q-Tip® to ensure that it is evenly distributed across the stencil. This step is important but you don't need to "go crazy" here, just make sure the surface area is covered, to prevent the stencil from moving around during the glass etching process.
Note: An alternate method is to lay the stencil on the glass and then add a few drops of activator on the white part of the stencil, and let it soak through. Spread this with your finger tips so the activator covers the underside of the stencil completely around the copy area.
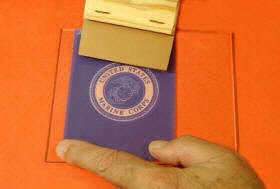
4. Align the Stencil on the Glass.
Next place the stencil on the glass, being very careful not to let any bubbles underneath the surface. The glass will not be etched in any spot where a bubble is present under the stencil, so smooth the stencil down carefully or place it on whatever glass object you intend to etch in the same careful manner. You will also want to check your placement on anything you are etching since placement is extremely important.
5. Run the Squeegee Over the Stencil.
After you place the stencil on the glass you should use the squeegee that is provided with every kit to smooth the stencil to remove any air bubbles you may have missed and to squeeze out any excess activator. Be sure to keep a firm grip on the stencil with your free hand the ensure that the stencil doesn't slide away while you use the squeegee.
6. Apply Firm Pressure with a Paper Towel.
After you use the squeegee to remove the excess activator from underneath the stencil, you need to remove the excess activator from the top of the stencil as well as the mesh. To do this just apply firm pressure to the top of the stencil with a paper towel for about 20 seconds.
7. Apply Glass Etching Cream.
Now you're ready to apply the glass etching cream. Spread it around to make sure that the entire area of the design on the stencil is covered. Also, make sure that the etching cream doesn't touch any bare glass since it would etch areas you do not want etched. Press down firmly with Q-Tip to squeeze the etching cream through the stencil. You can also use your squeegee to help press the cream through the stencil.
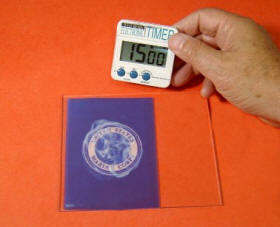
8. Set the Timer and Wait for 15 Minutes.
Set the included digital timer for 15 minutes and let the etching cream work it's magic on the glass. Now would be a good time to go ahead and start exposing another stencil in the UV exposure unit. You can be making stencils and etching glass at the same time, saving you time and money!
Important Note: If you are using our new Professional 30-Second Glass Etching Cream, you need only wait 30 to 60 seconds. then remove the stencil and wash at once.
9. Carefully Peel Off the Stencil and Admire!
After your 15 minutes are up carefully peel off the stencil and wash off the unused etching cream on both the glass and stencil under warm running water. Once finished you should dry your stencil and save it for another time. Now you have a beautifully etched piece of glass!
Important Note: If you are using our new Professional 30-Second Glass Etching Cream, you need only wait 30 to 60 seconds. then remove the stencil and wash at once.
*SPECIAL NOTE: Make Your Etchings Stand Out Much Brighter!
*See SILVER Rub n' Buff Info Below.
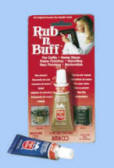
*Make Your Etchings Stand Out Much Brighter!*
Use Rub n' Buff to make your Glass Etchings stand out from the glass like never before. Simply apply it to the etched portions of your glass then rub it off with a paper towel. It adheres to the etched part of the glass and wipes away easily from the un-etched sections of the glass. It is Very Easy to apply and the SILVER color looks very much like the actual Etch on the Glass...Only Much Brighter.